|
Configurable servomotors controller
|
|
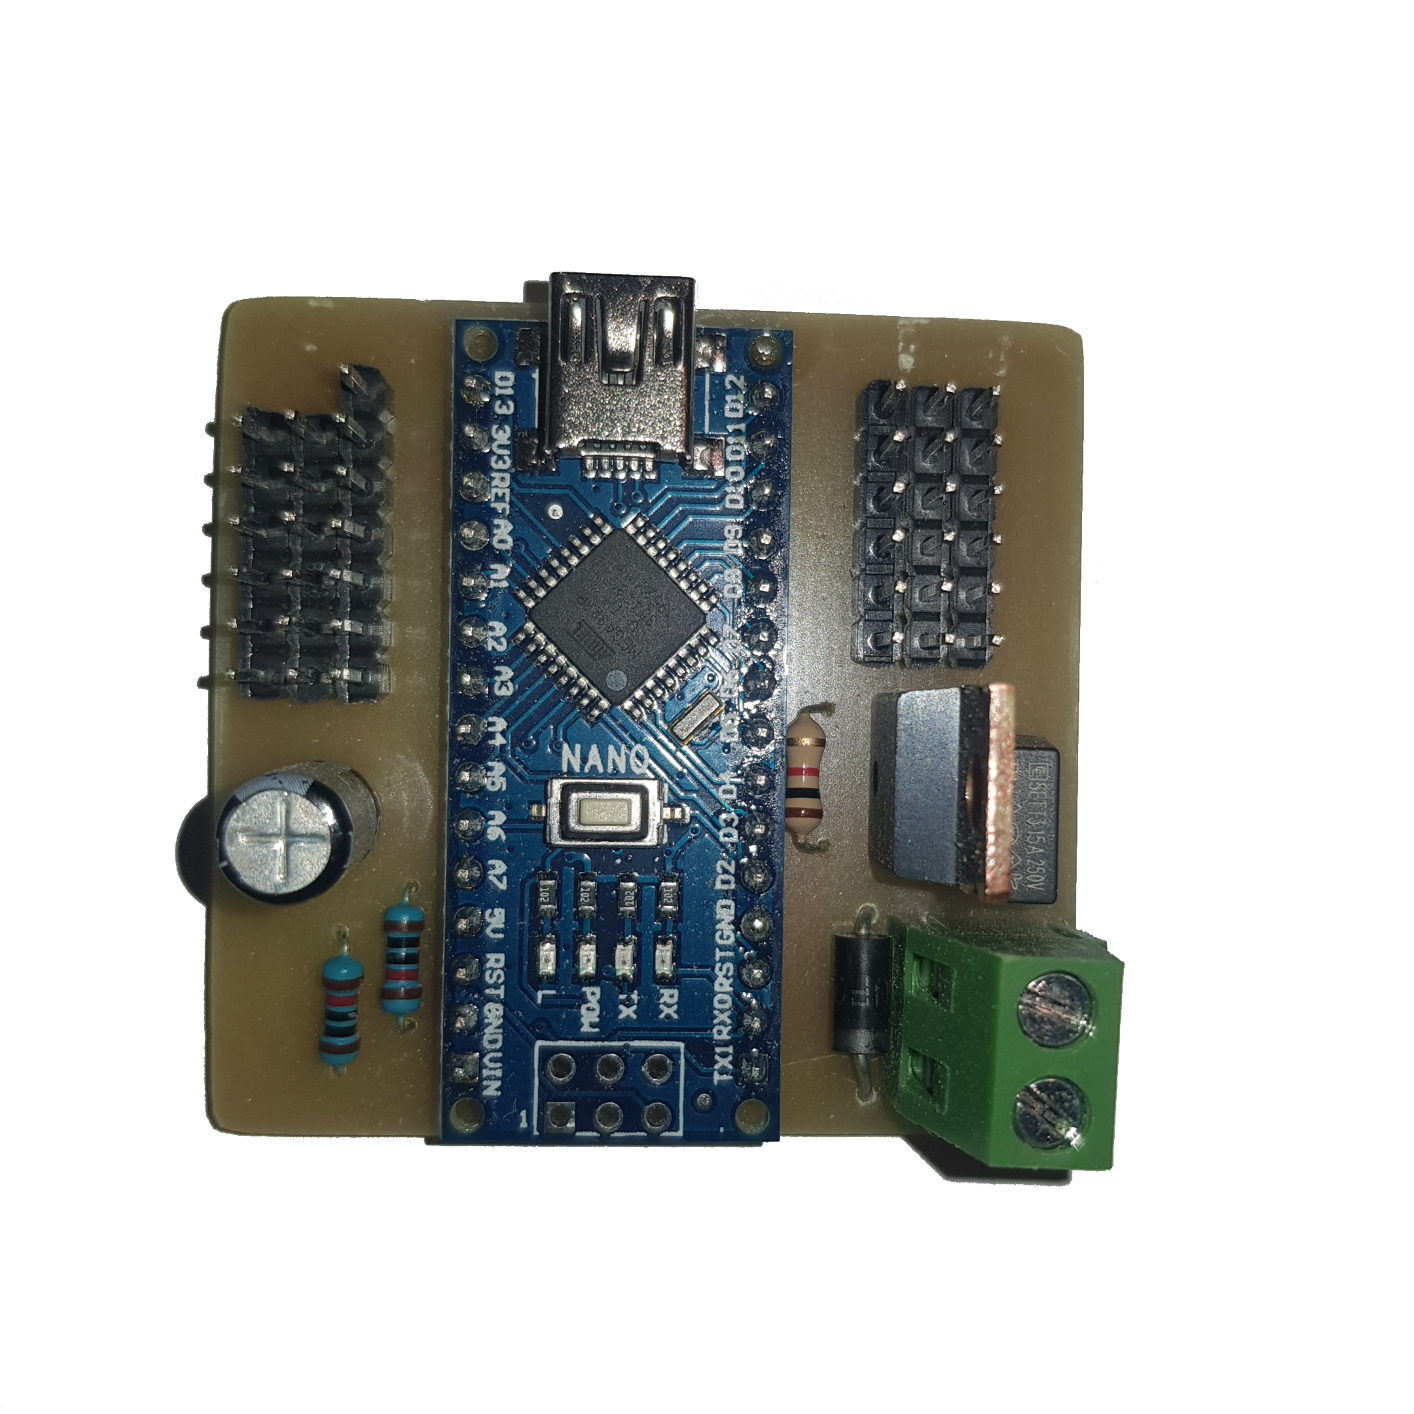
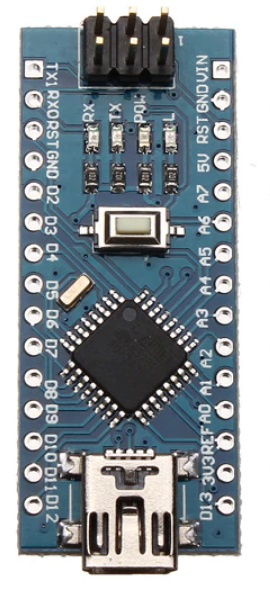
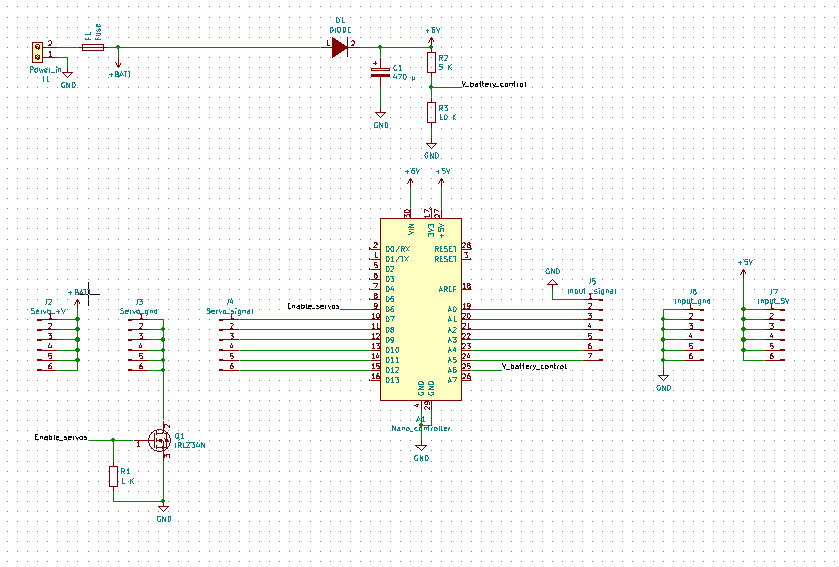
Hello every body, today i introduce to you my new project. This is a servomotors controller, it allow to drive until six servomotors independently. wholly configurable, it is possible to drive the servomotors by a digital input or a analog input. The start and the final angle can be set for each servomotor, also it is possible to set their speed. There are three modes. The first allow to drive the servomotor with switch, the second mode drive the servomotor position by a analog input and the third mode drive the servomotor mouvement. It is possible to powered the controller by a battery. To preserve it the processor goes in sleep mode after few seconds, it possible to set this value. The Atmel processor is wake up by a action on an input. To avoid the deep discharge, the battery is monitoring. The low level is set by the user, if the battery go under the value the processor go in stand-by mode. To wake up the processor it is necessary to use reset bottom or to disconnect the power. To create this servomotors controller, i have used a Arduino nano, it can be powered by a tension from 6 to 9 volts. The intensity need to be less than 5 Amp.
Here, there is codes and file to create yourself this servomotors controller. |
|
Summary
|
|
The servomotors controller is made with a Arduino nano. The software use a timer to control the speed and positions of every servomotors controller.
|
|
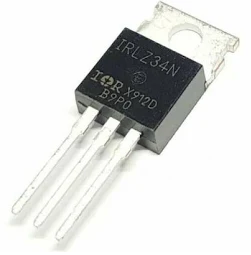
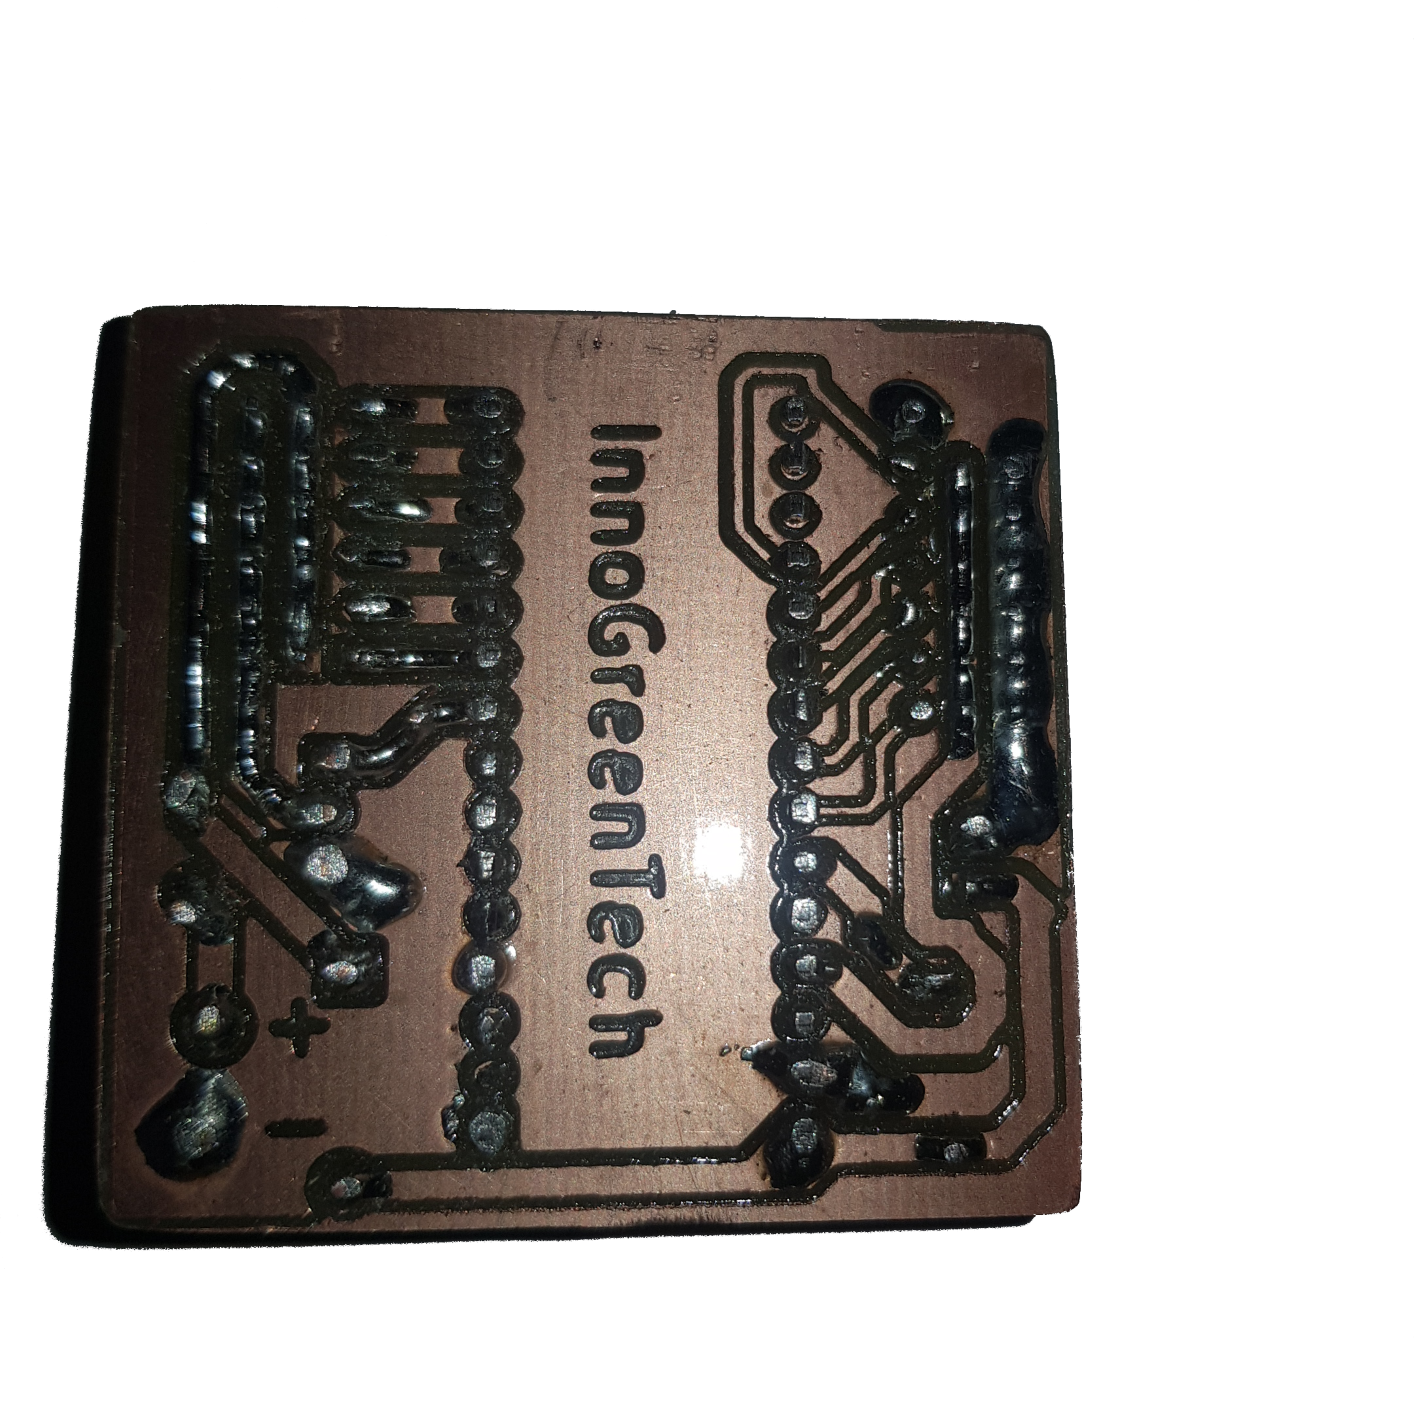
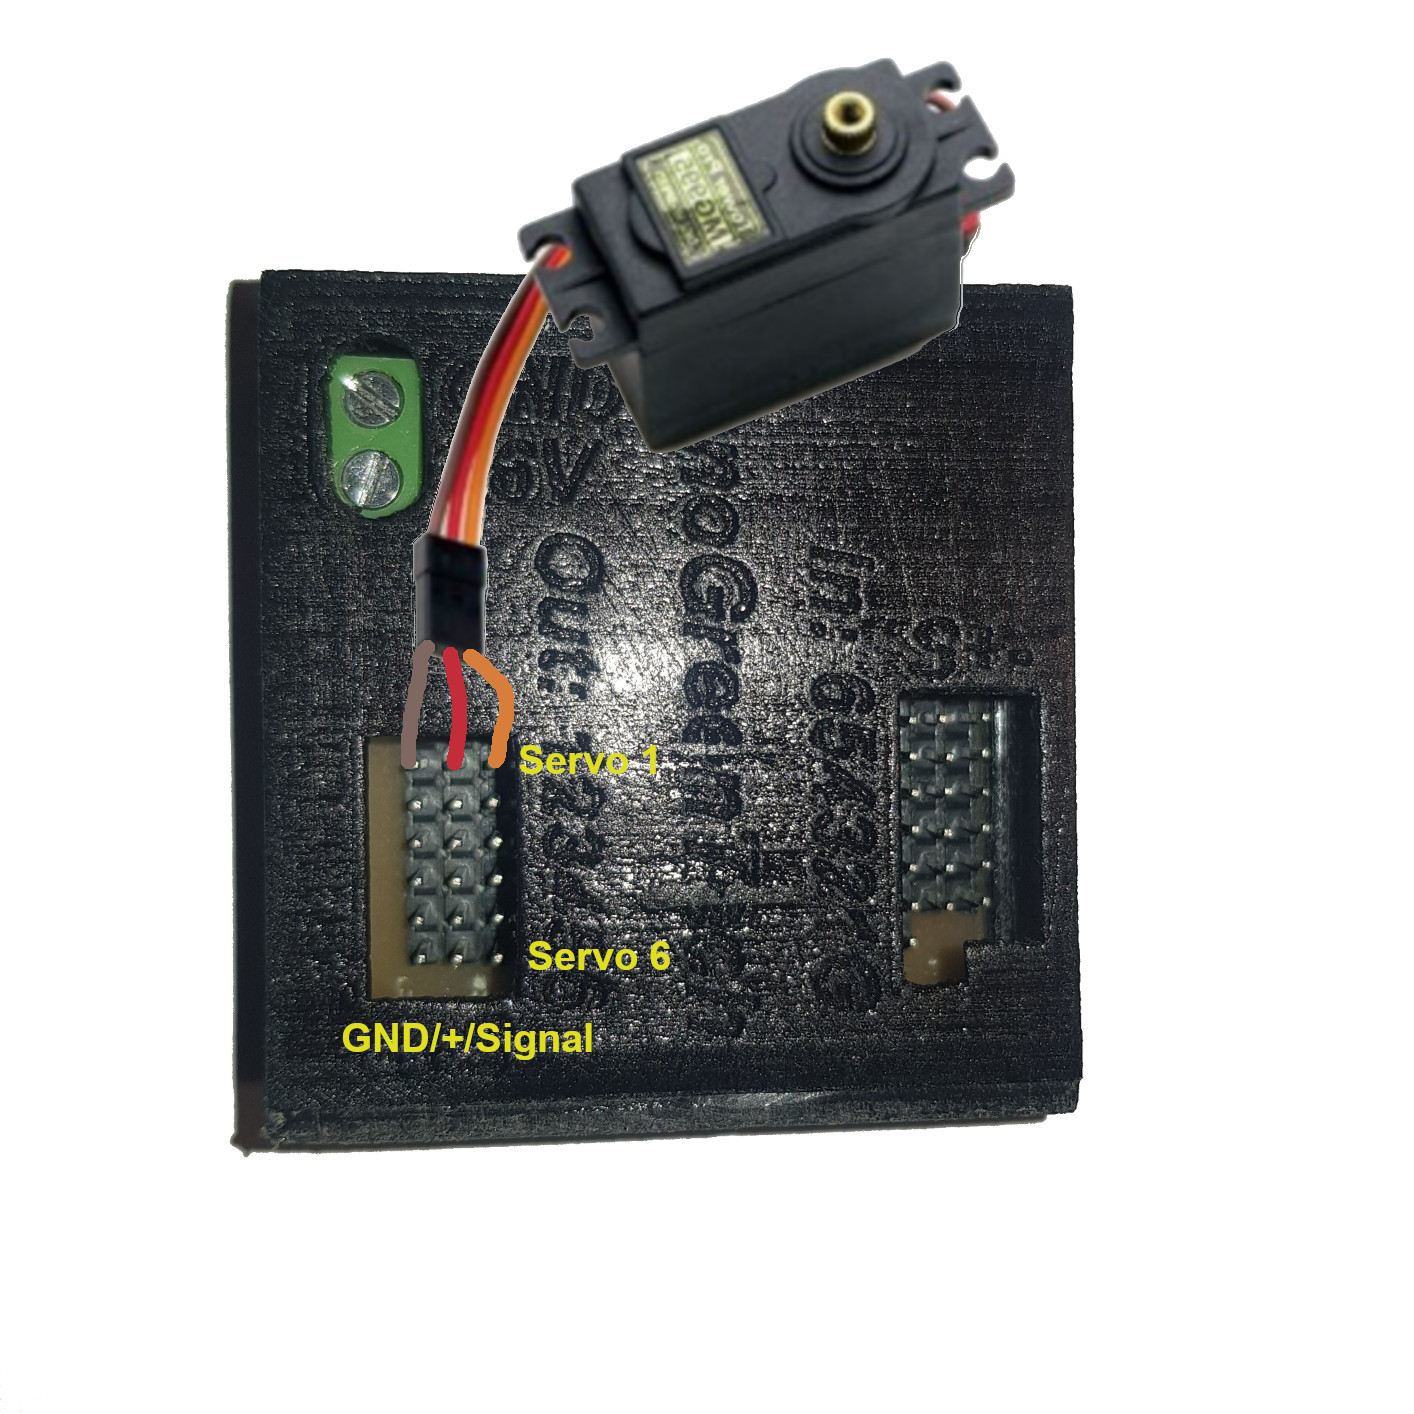
The card is sliding in a boxe print with a 3D printer. This a small boxe of little size,take care of the welding and put the Mosfet until its base.
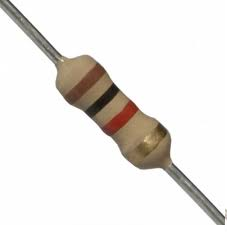
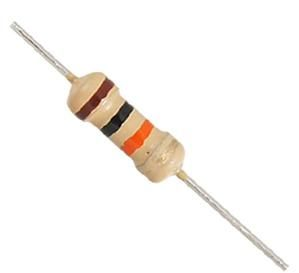
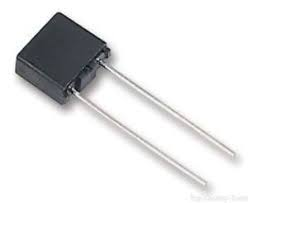
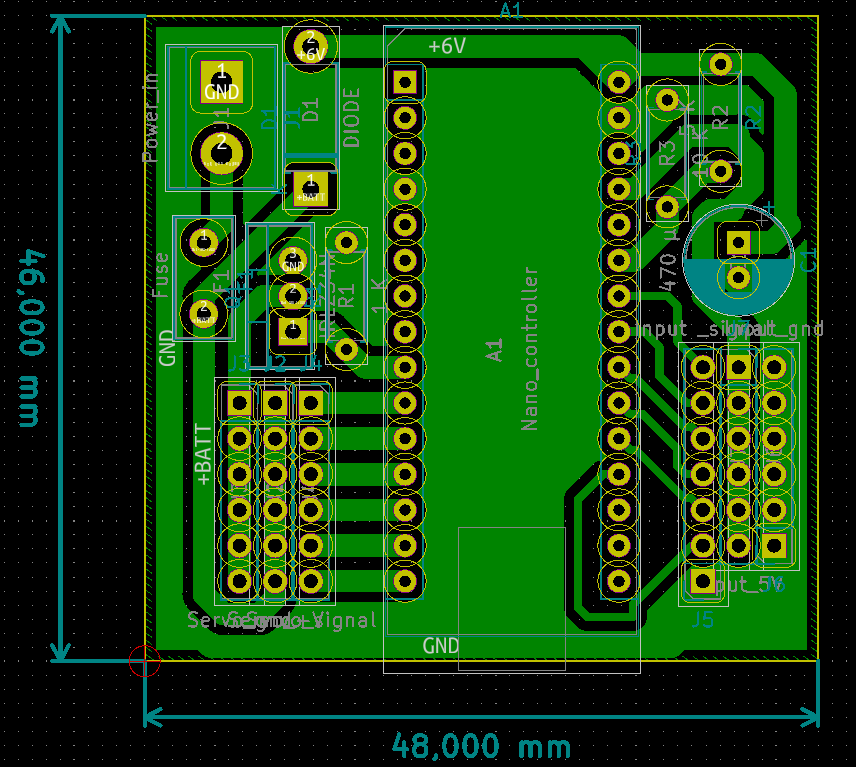
This is a simple face PCB.
|
|
The boxe is made in PETG , I had modelling it with the software FreeCad. The files are updating on my account github. It is possible to generate a STL of the electronic board with KiCad, it is a good way to adjust the holes of the boxe.
|

|
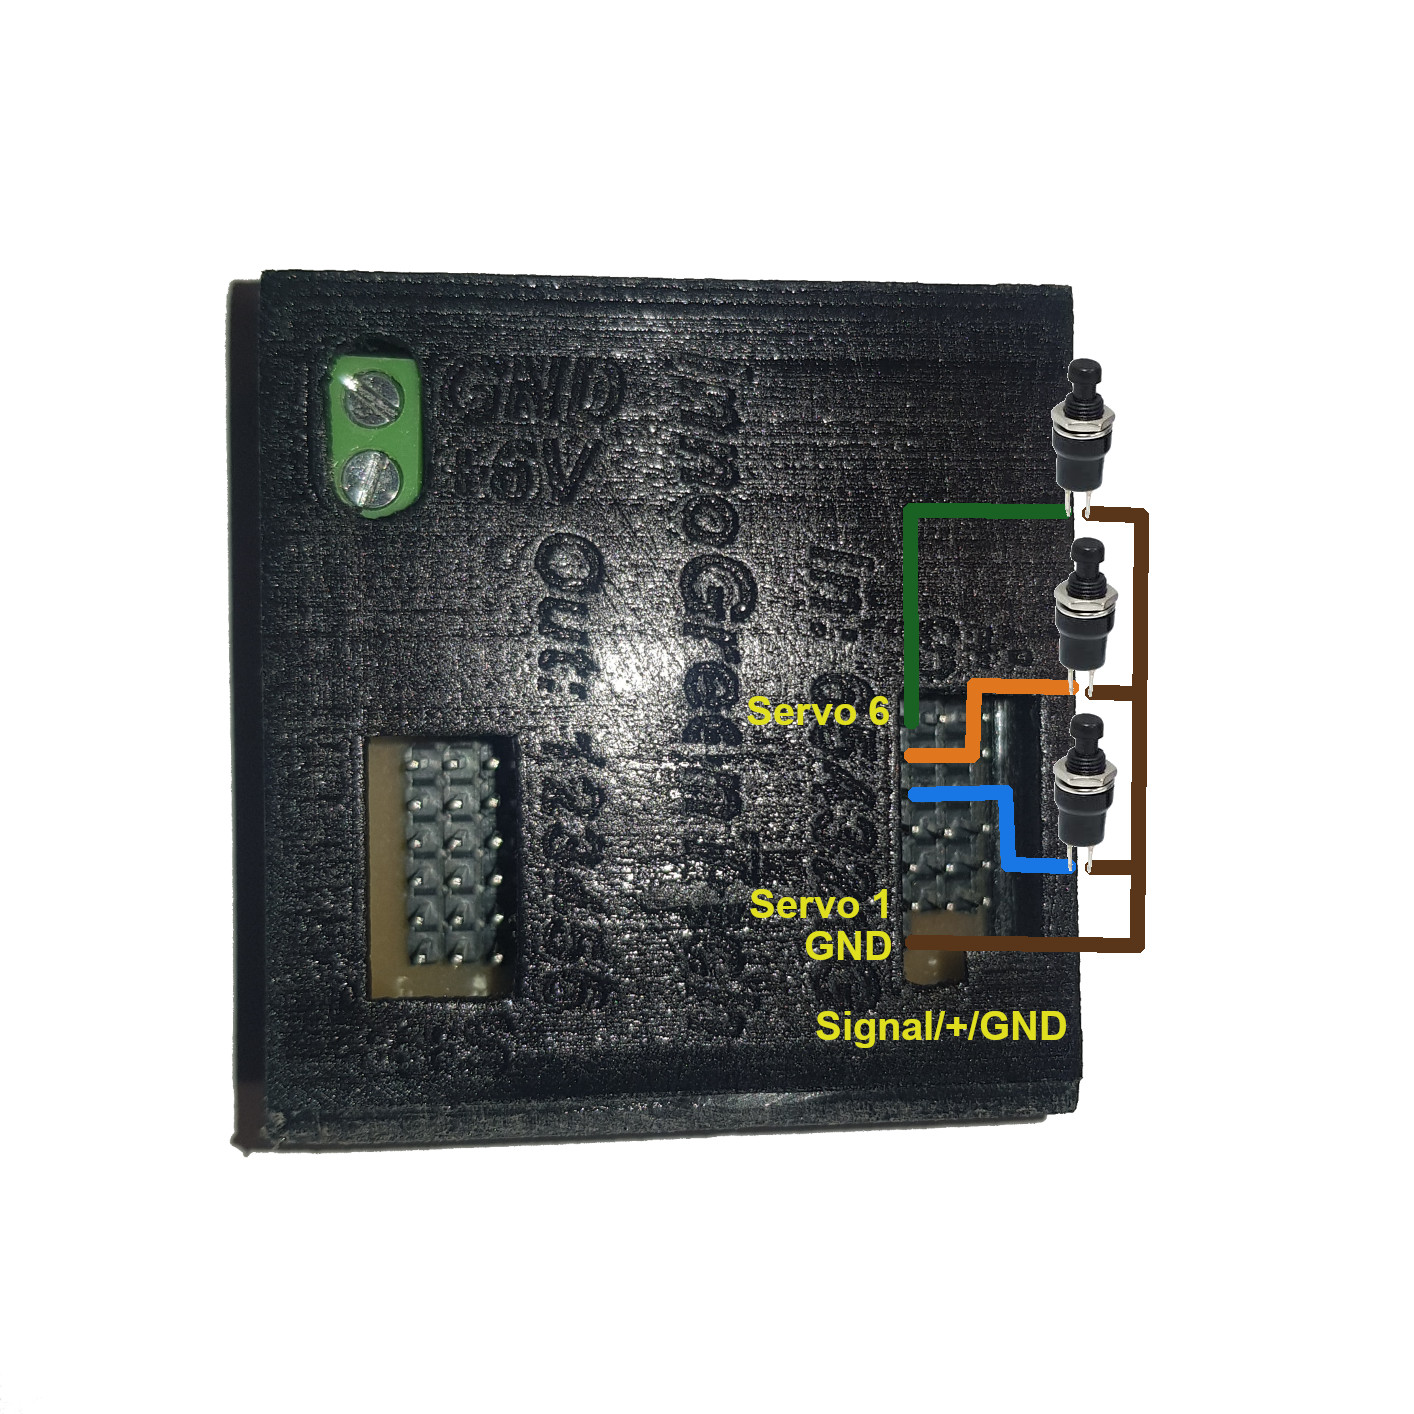
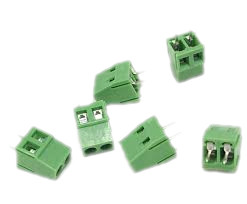
1-Connect the servomotors: It is possible to connect until six servomotors.
In digital mode you need to connect the switch between GND and Signal input pin.
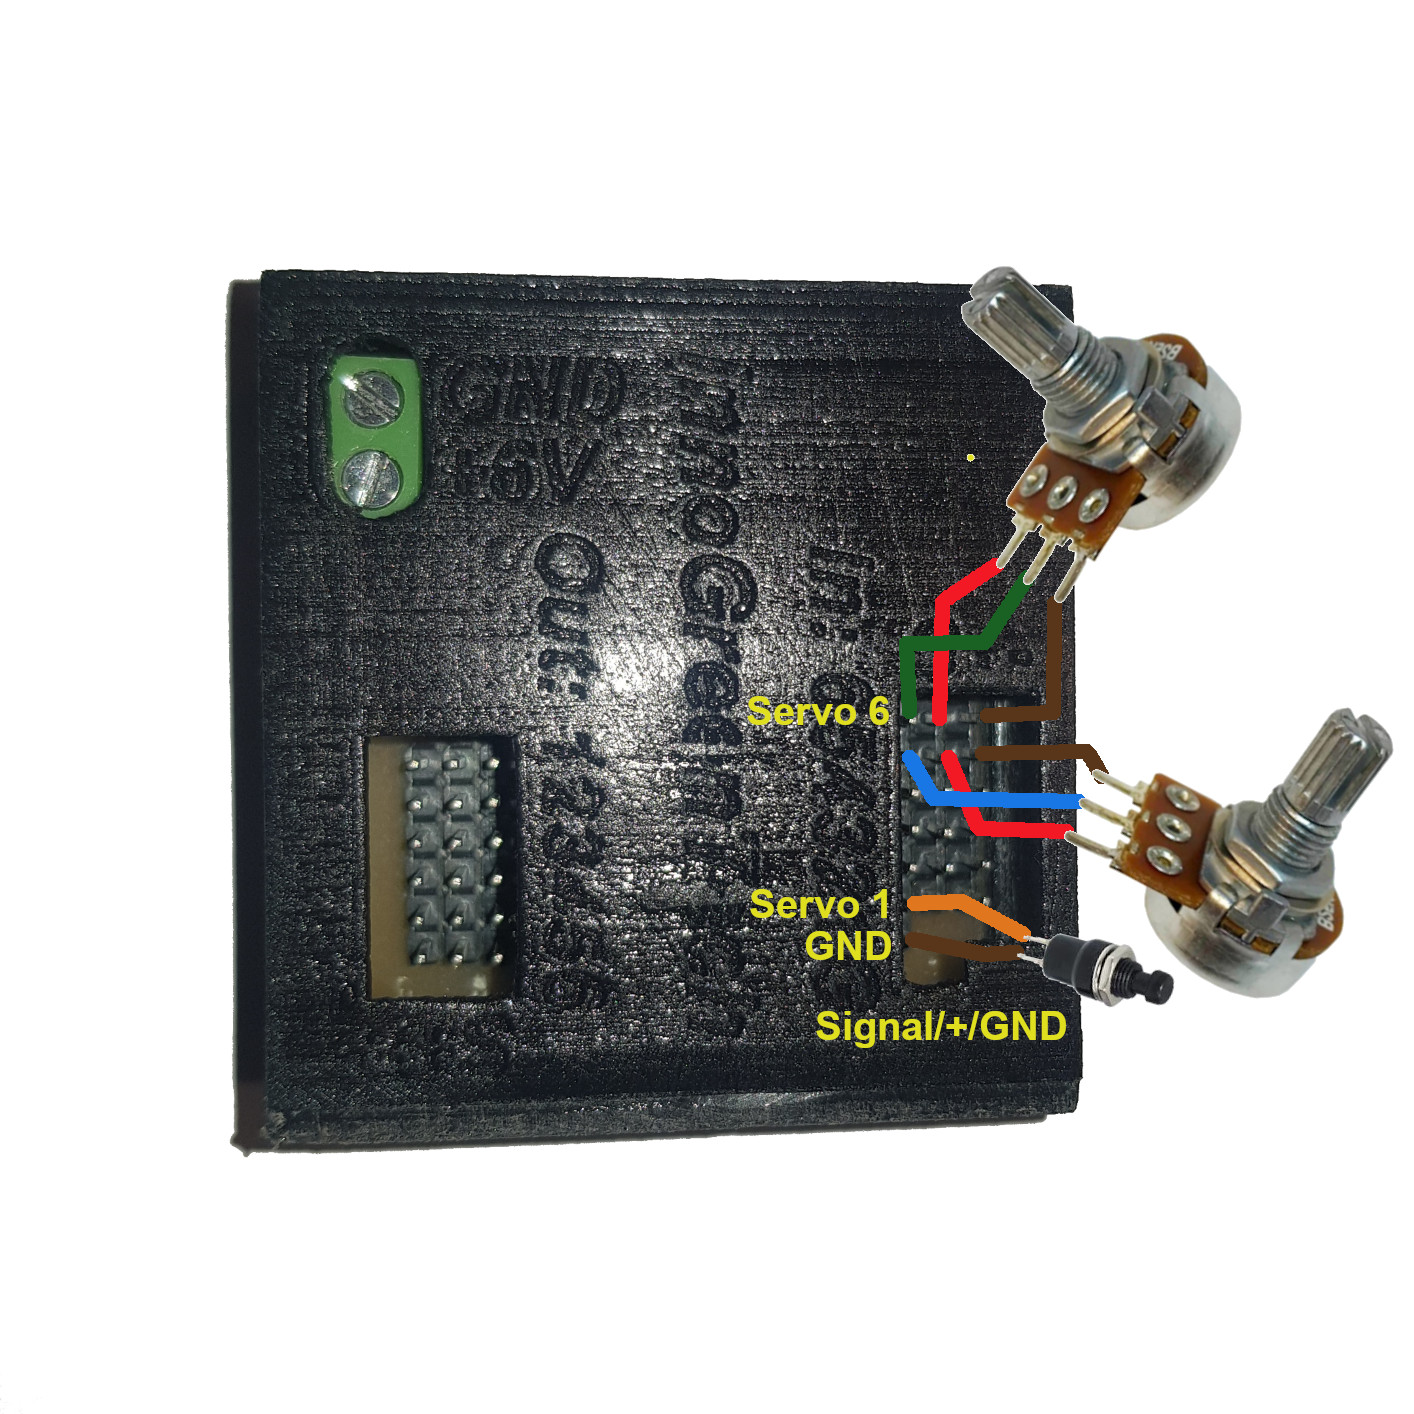
In analog mode, it necessary to bring a tension at the input. Here a exemple with a potentiometer. 3-Go to the setting: In first time you need to install the pilote USB CH340. It allow to connect the Arduino. Here, in this example we are going to use the serial monitor Putty. Connect your servomotors controller on the usb port. In the "gestionnaire de périphériques" you will can found the number of the port of you CH340 driver , here port COM4
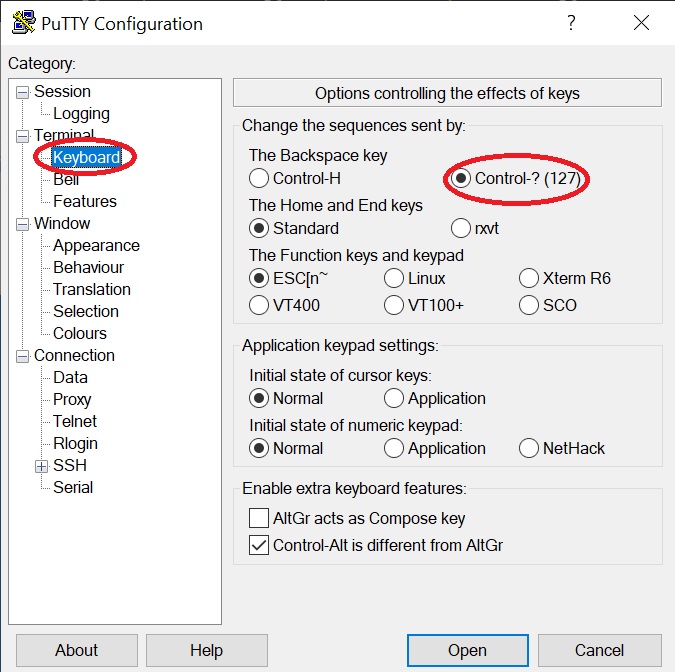
Now you can open the software Putty, to help you can set the Backspace key. This will help you to configur the servomotrs controller.
Now you can inform the form of your connection. Set the speed at 115200, the Serial line with the port that you have found and active serial mode.
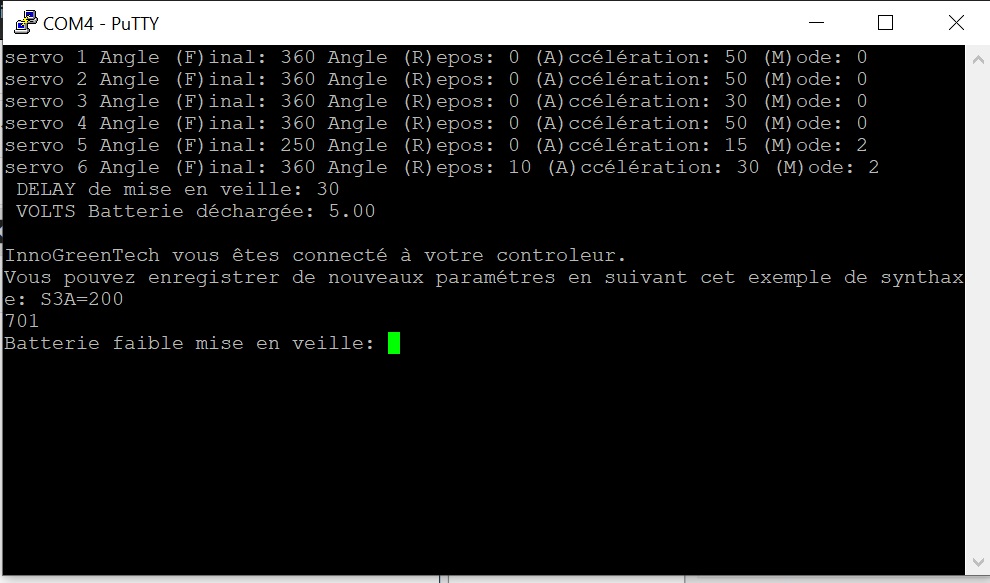
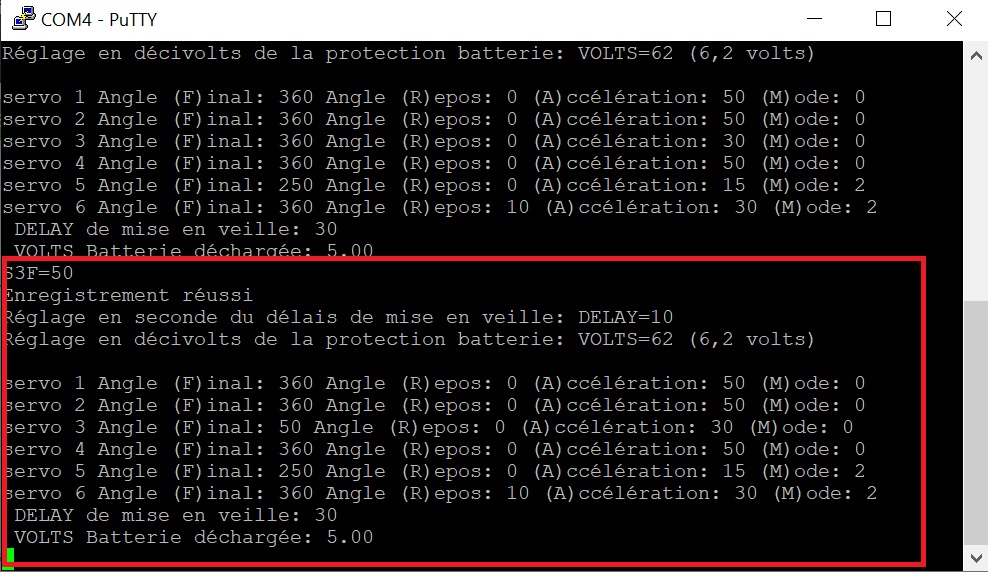
Perfect we are ready to set the servomotors controller, click to "Open" 3-Onpen the connection on your servomotors controller: When you start the communication the Arduino reset. A message appear and give you the current configuration. Important if the controller go in sleep the communication is not possible. Also if the main power is not connected, the controller goes in deep sleep mode, so it is not possible to set it.
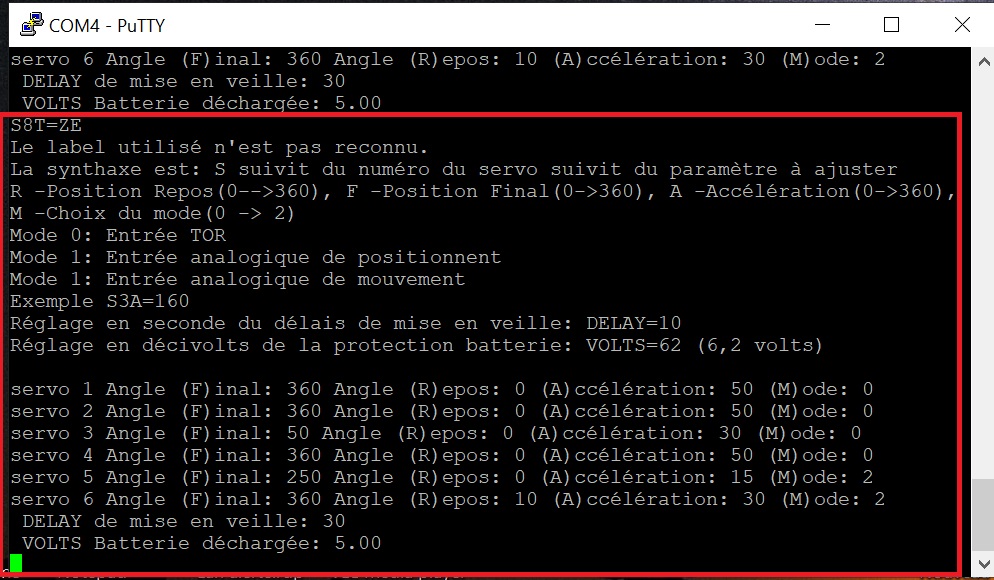
4-Description of parameters: Angle Final: This is final angle, you can set it from 0 to 360 °. The angle depend of that of the servomotors. Angle Repos: This is the start angle, setting from 0 to 360°. The angle depend of that of the servomotors. Accélération: This set the max speed of the servomotors, setting from 0 to 360°. I advice to stay under 75. Mode: There are four modes, -The mode 0: This is a digital mode. When the contact is on le servomotors goes at the final angle, if you release it the servo return at the start angle.The speed is the accélération setting. If you don't use a servomotor canal please put the input in this mode. That allow to pull-up the input and invoice wake-up not wanted. -The mode 1: This is analog mode. The servomotor goes at the position demands by the input. The speed use is the accélération setting. Note, the middle position of the potentiometer is calibrate at the start of the controller, please take care to put the potentiometer in middle position at the beginning. -The mode 2: This is a digital mode control. This a impulsionnel pulse, a pulse change the direction of the servomotors that goes until the final or start angle. its speed is that of accélération setting. -The mode 3: This is a analog mode. In this mode you pilote the mouvement of the servomotors. The speed is proportional at the position of the potentiometer. Note, the middle position of the potentiometer is calibrate at the start of the controller, please take care to put the potentiometer in middle position at the beginning. DELAY: This is the delay before the standby mode. 30 seconds it is a good setting VOLTS: This is the voltage setting to protect the battery of deep unload. If the battery reach this voltage, the conroller goes in sleep mode. It is necessary to power off the object to wake-up the servo_motors controllers. The maximum value is 8 Volts, like if you do a mistake, you can use 9 Volts powered. Remember this voltage is measuring after the diode. 4-Changer les paramètres: Is the item is in sleep mode, it is not possible to set it, you need to wake-up with a pulse on a input. To change a parameter you have to use this syntax: "S" like servomotor follow by the number of the servomotor example "3", follow by the parameter that you want to change example "F" for final angle, follow "=", follow by the value you want "50" finally S3F=50. Click enter to validate the change.
Don't worry if you make a mistake the controller send a help.
Thank you, Keep contact like and share |
 2-Connect inputs: